Deploying your first environment
Detailed guide for deploying your first environment using Ogre.
·2 min read
Step 1: Create your account
- Head to www.ogre.run/auth/sign-up and create your account.
- Select the name of your organization and click on the Create button.
- You will be redirected to the dashboard of your organization.
Step 2: Create your token

- Go to the Tokens Tab.
- Click on the New Token button.
- Copy the Token and save it somewhere safe. You will need it in Step 4.
- You can optionally add a description to your token.
- Click on Create Token.
IMPORTANT: From this point on, you can jump into the CLI, if you wish. Follow this link to set it up: https://www.ogre.run/blog/tutorials/CLI
Step 3: Install the Chrome extension

- Head to Chrome Web Store: Ogre.run and install the extension.
- Go to a public GitHub or GitLab repository.
- You should see the Ogre button as shown below, if not, reload the page.
Step 4: Add the configuration

- Click on the Ogre button. You should be in the Settings tab.
- Click on Edit
- Paste the token you created in Step 2.
- The server address should be cloud.ogre.run by default. Don't change it unless we give you a custom address.
- Click on Save.
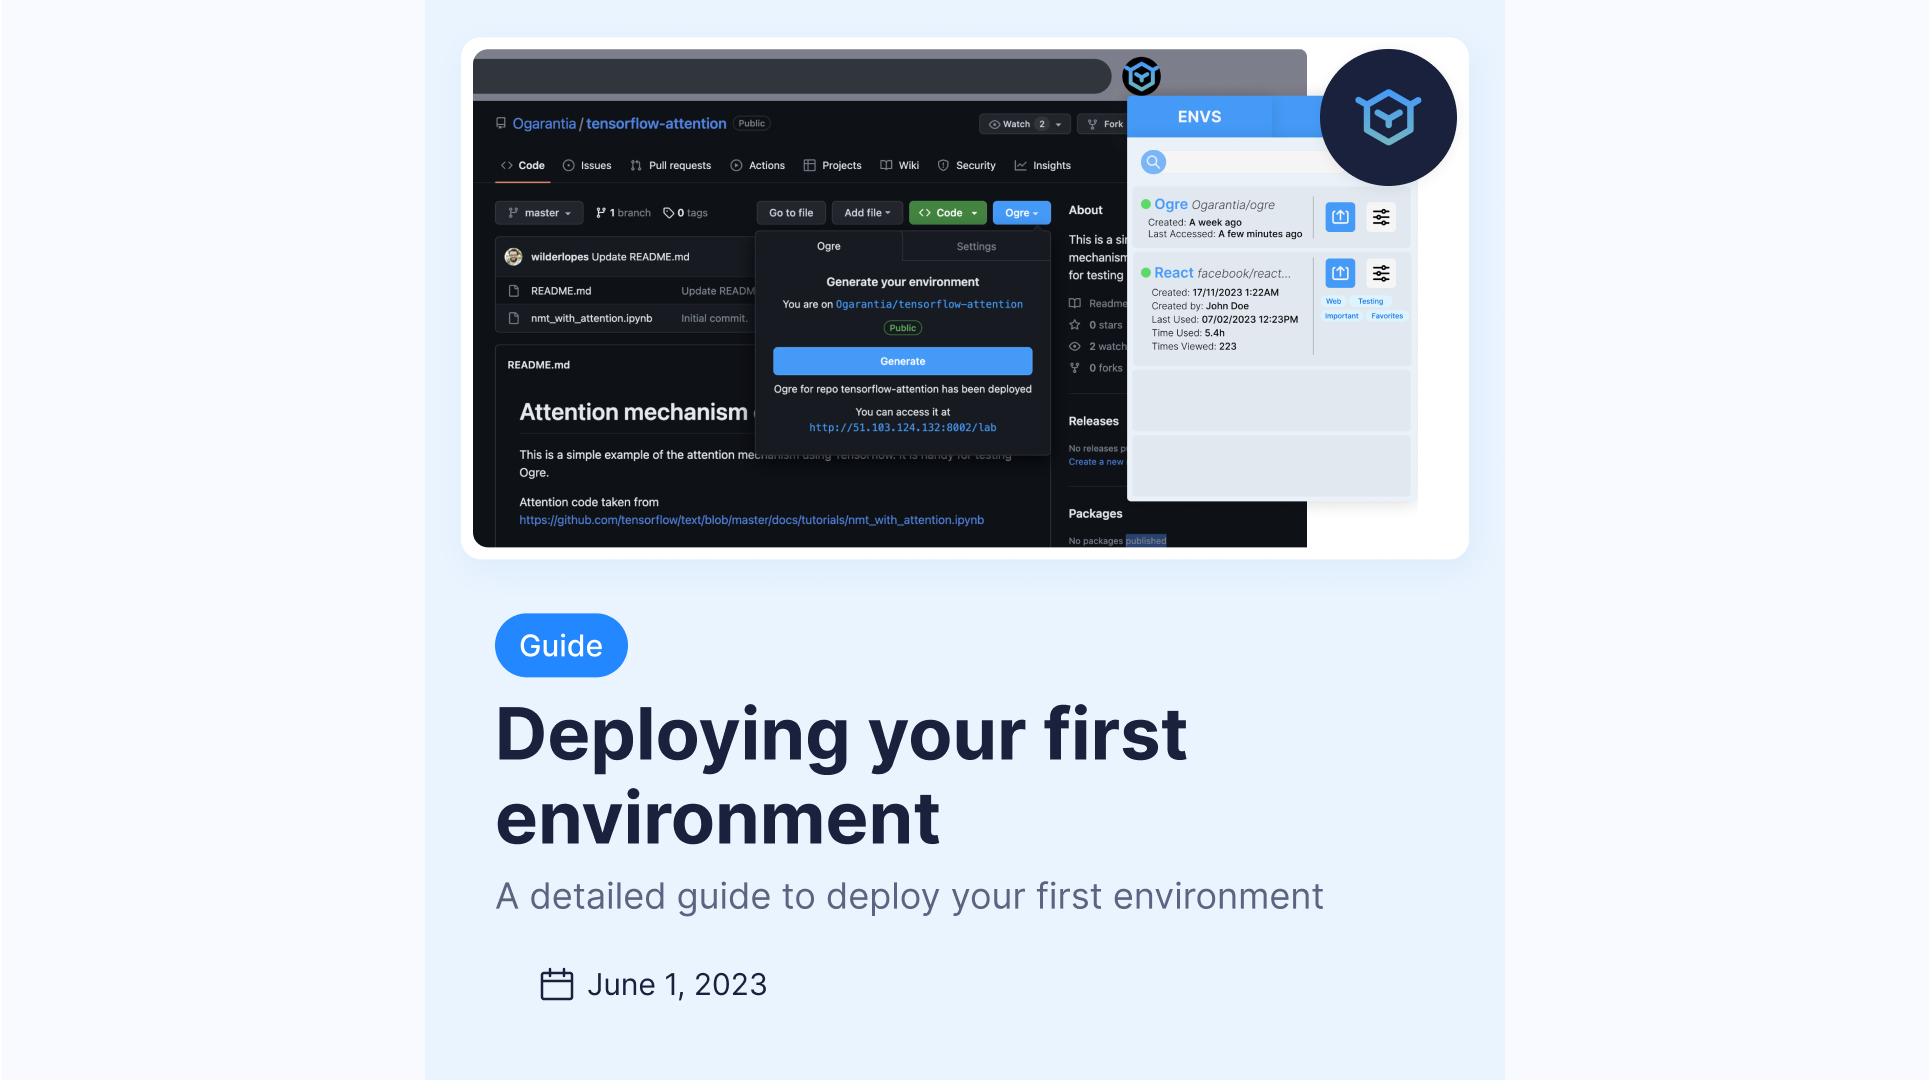
Step 5: Deploy!

- Go to the Ogre tab.
- Click on Generate.
- You should see message below the button in the image above.
- Click on the link, and you're good to go!
Congratulations! You have successfully learned how to use Ogre.run web platform and the Chrome extension. Now you can easily share and deploy your code with just a few simple steps. If you have any further questions or need assistance, feel free to reach out to our support team.